A Beginner’s Guide to Night Photography in Singapore


Getting Started with Night Photography
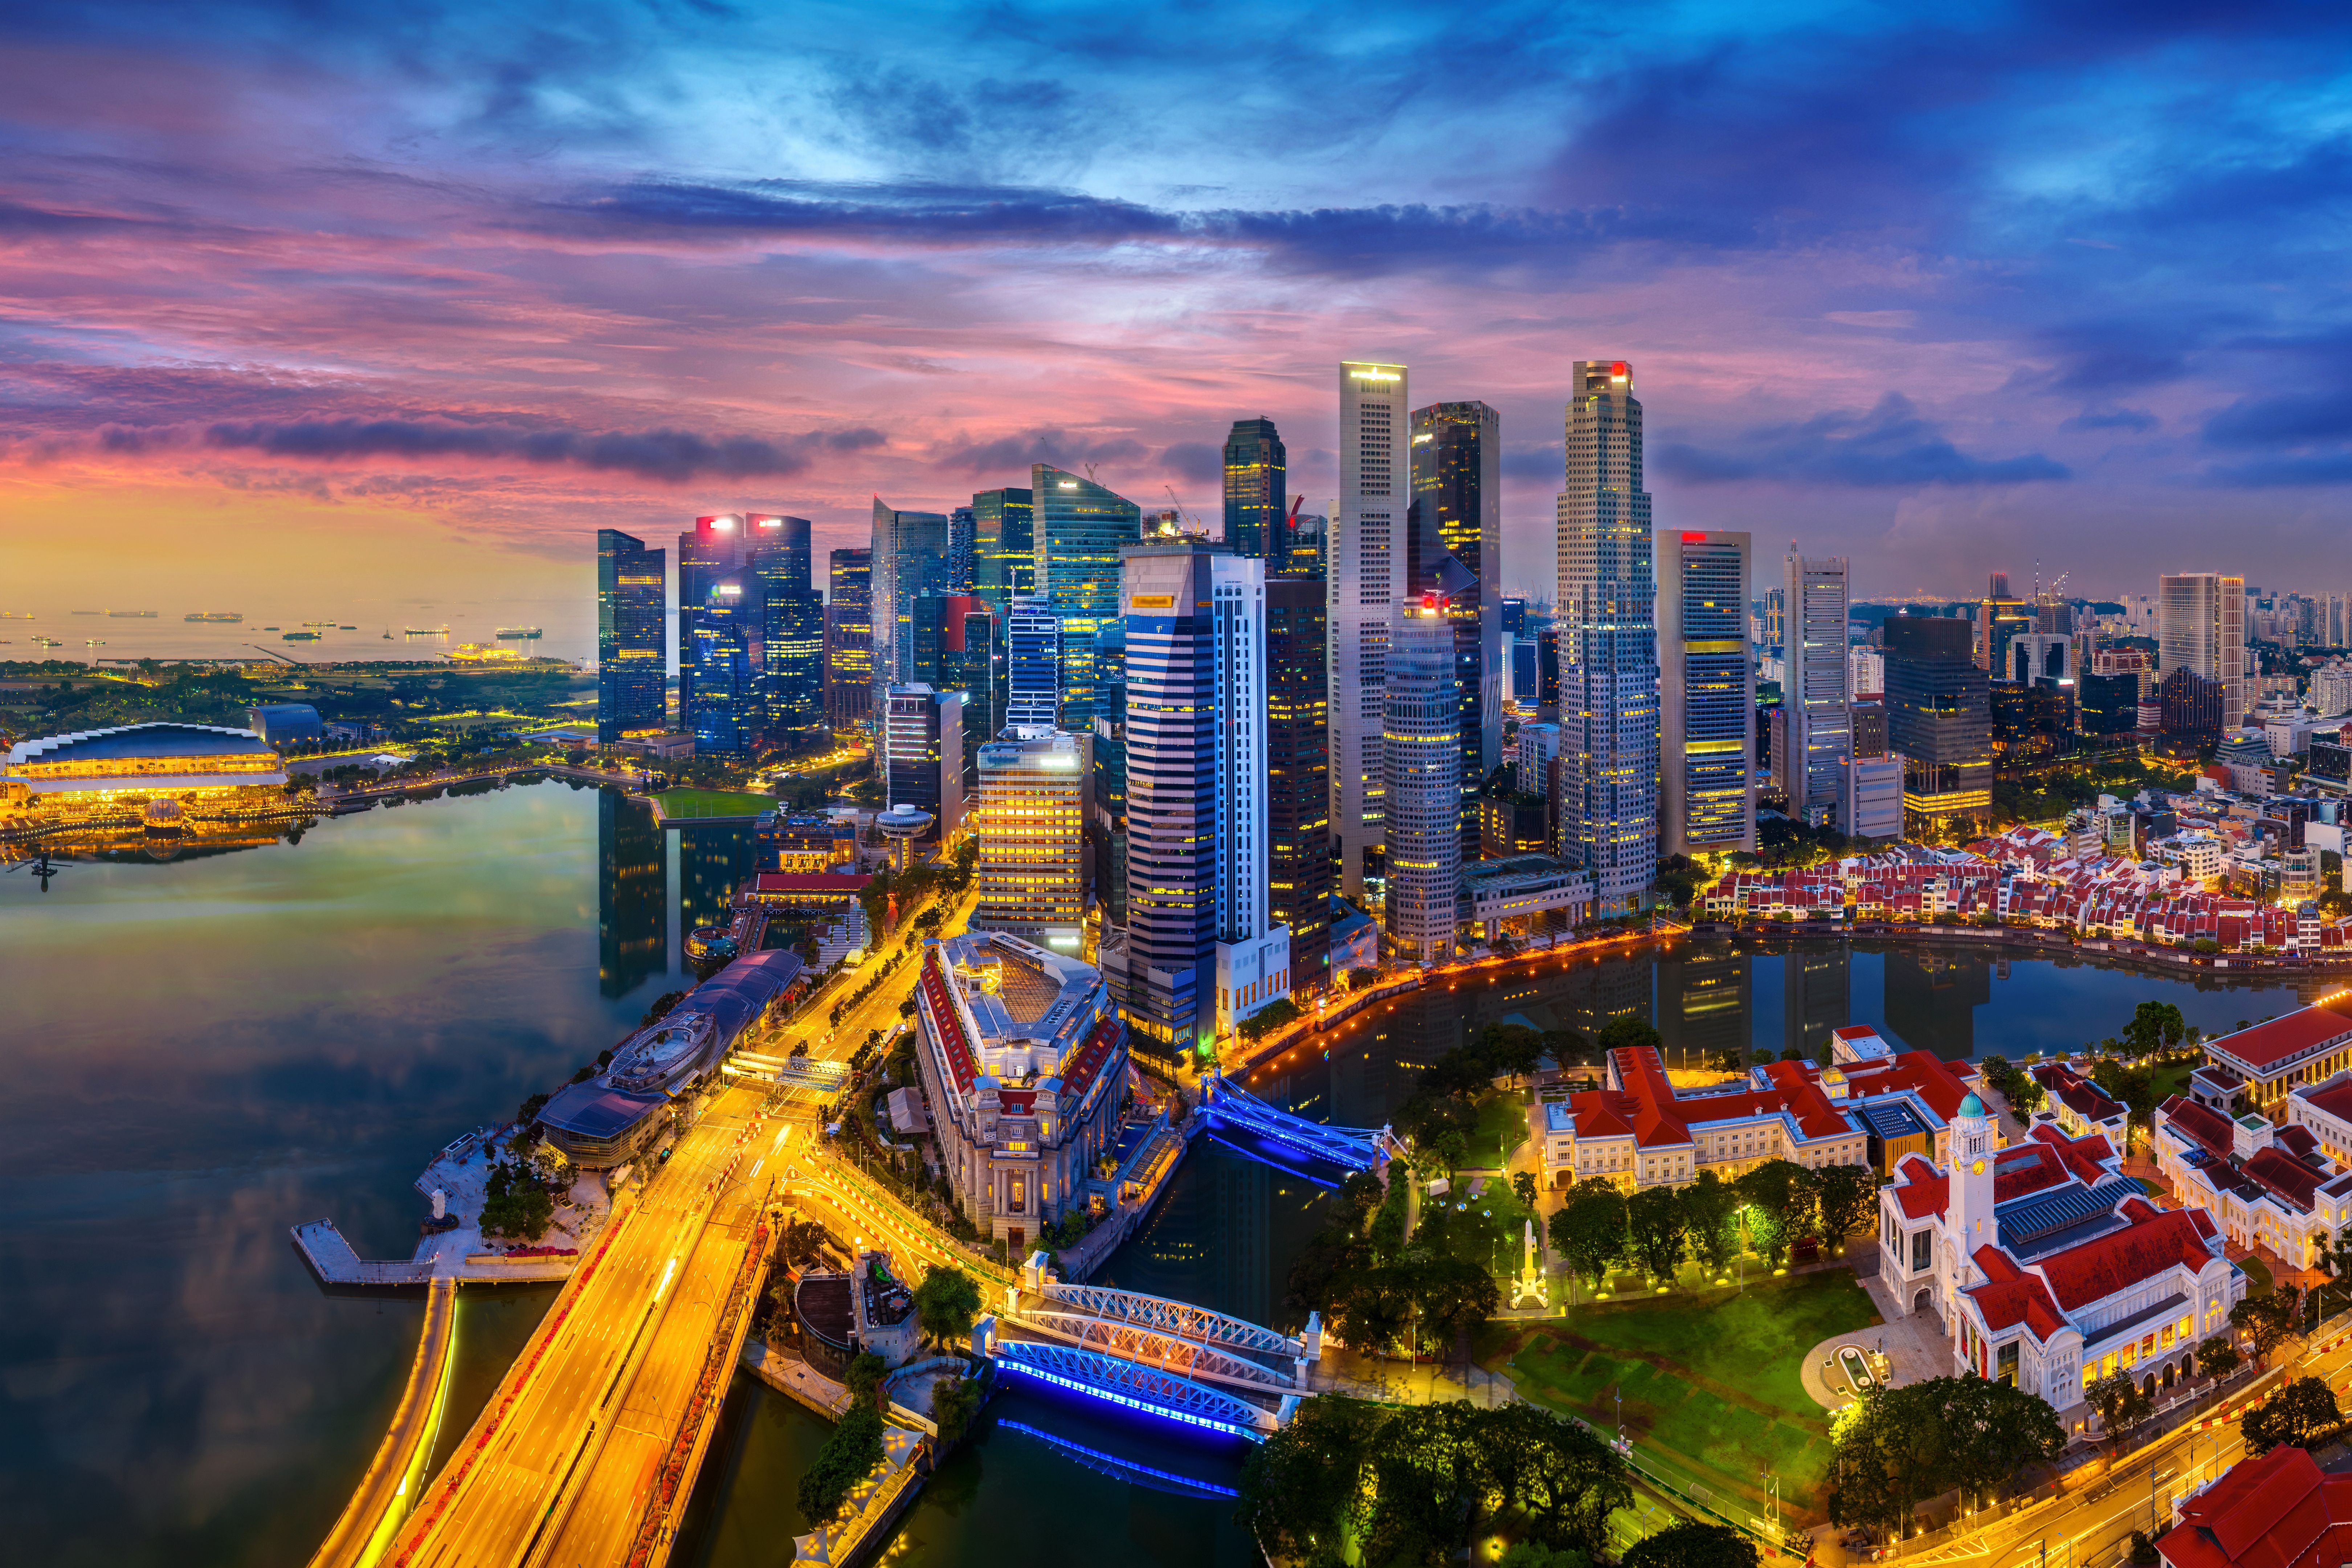
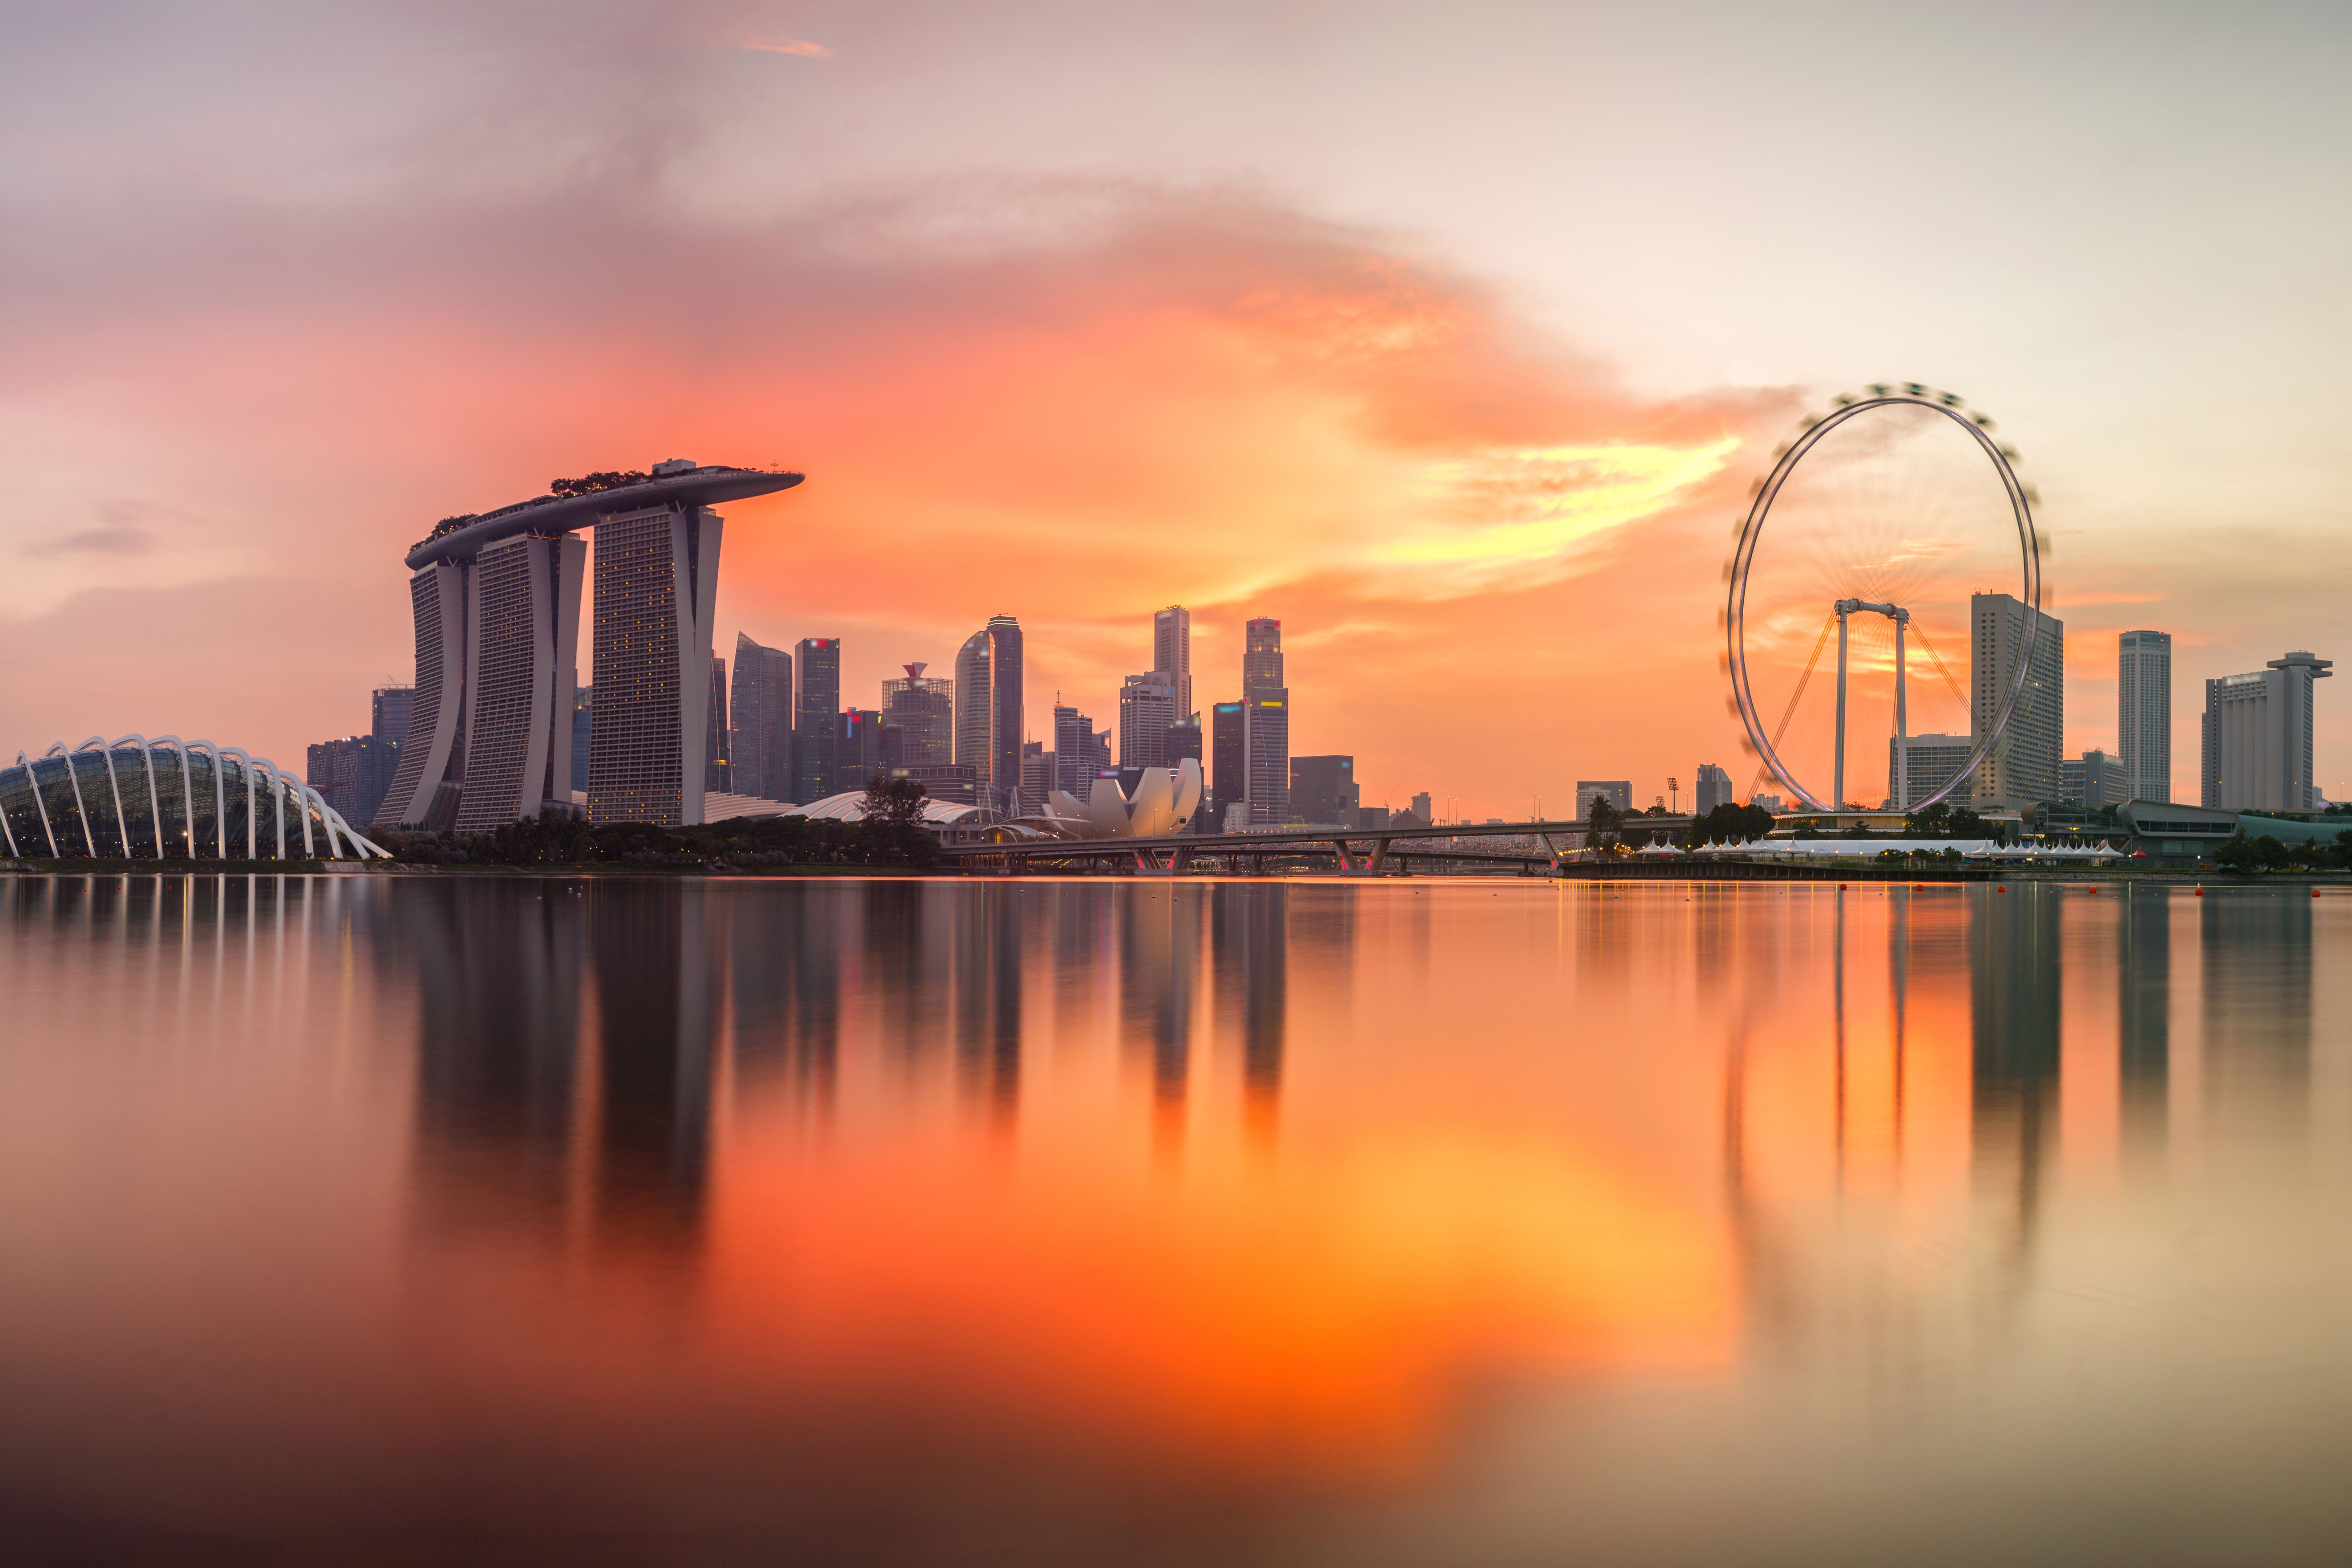
Night photography can be a thrilling experience, especially in a vibrant city like Singapore. With its illuminated skyline and bustling streets, the city offers endless opportunities for capturing stunning nightscapes. If you're new to night photography, don't worry—this guide will walk you through the essentials to get started.
The first step in night photography is understanding your camera settings. Unlike daytime shots, night photography requires you to adjust your camera to cope with low-light conditions. Setting your camera to manual mode gives you full control over the exposure. You’ll need to experiment with the ISO, aperture, and shutter speed to find the right balance for your shots.
Essential Gear for Night Photography
Having the right gear can significantly enhance your night photography experience. Here’s a list of essentials you should consider:
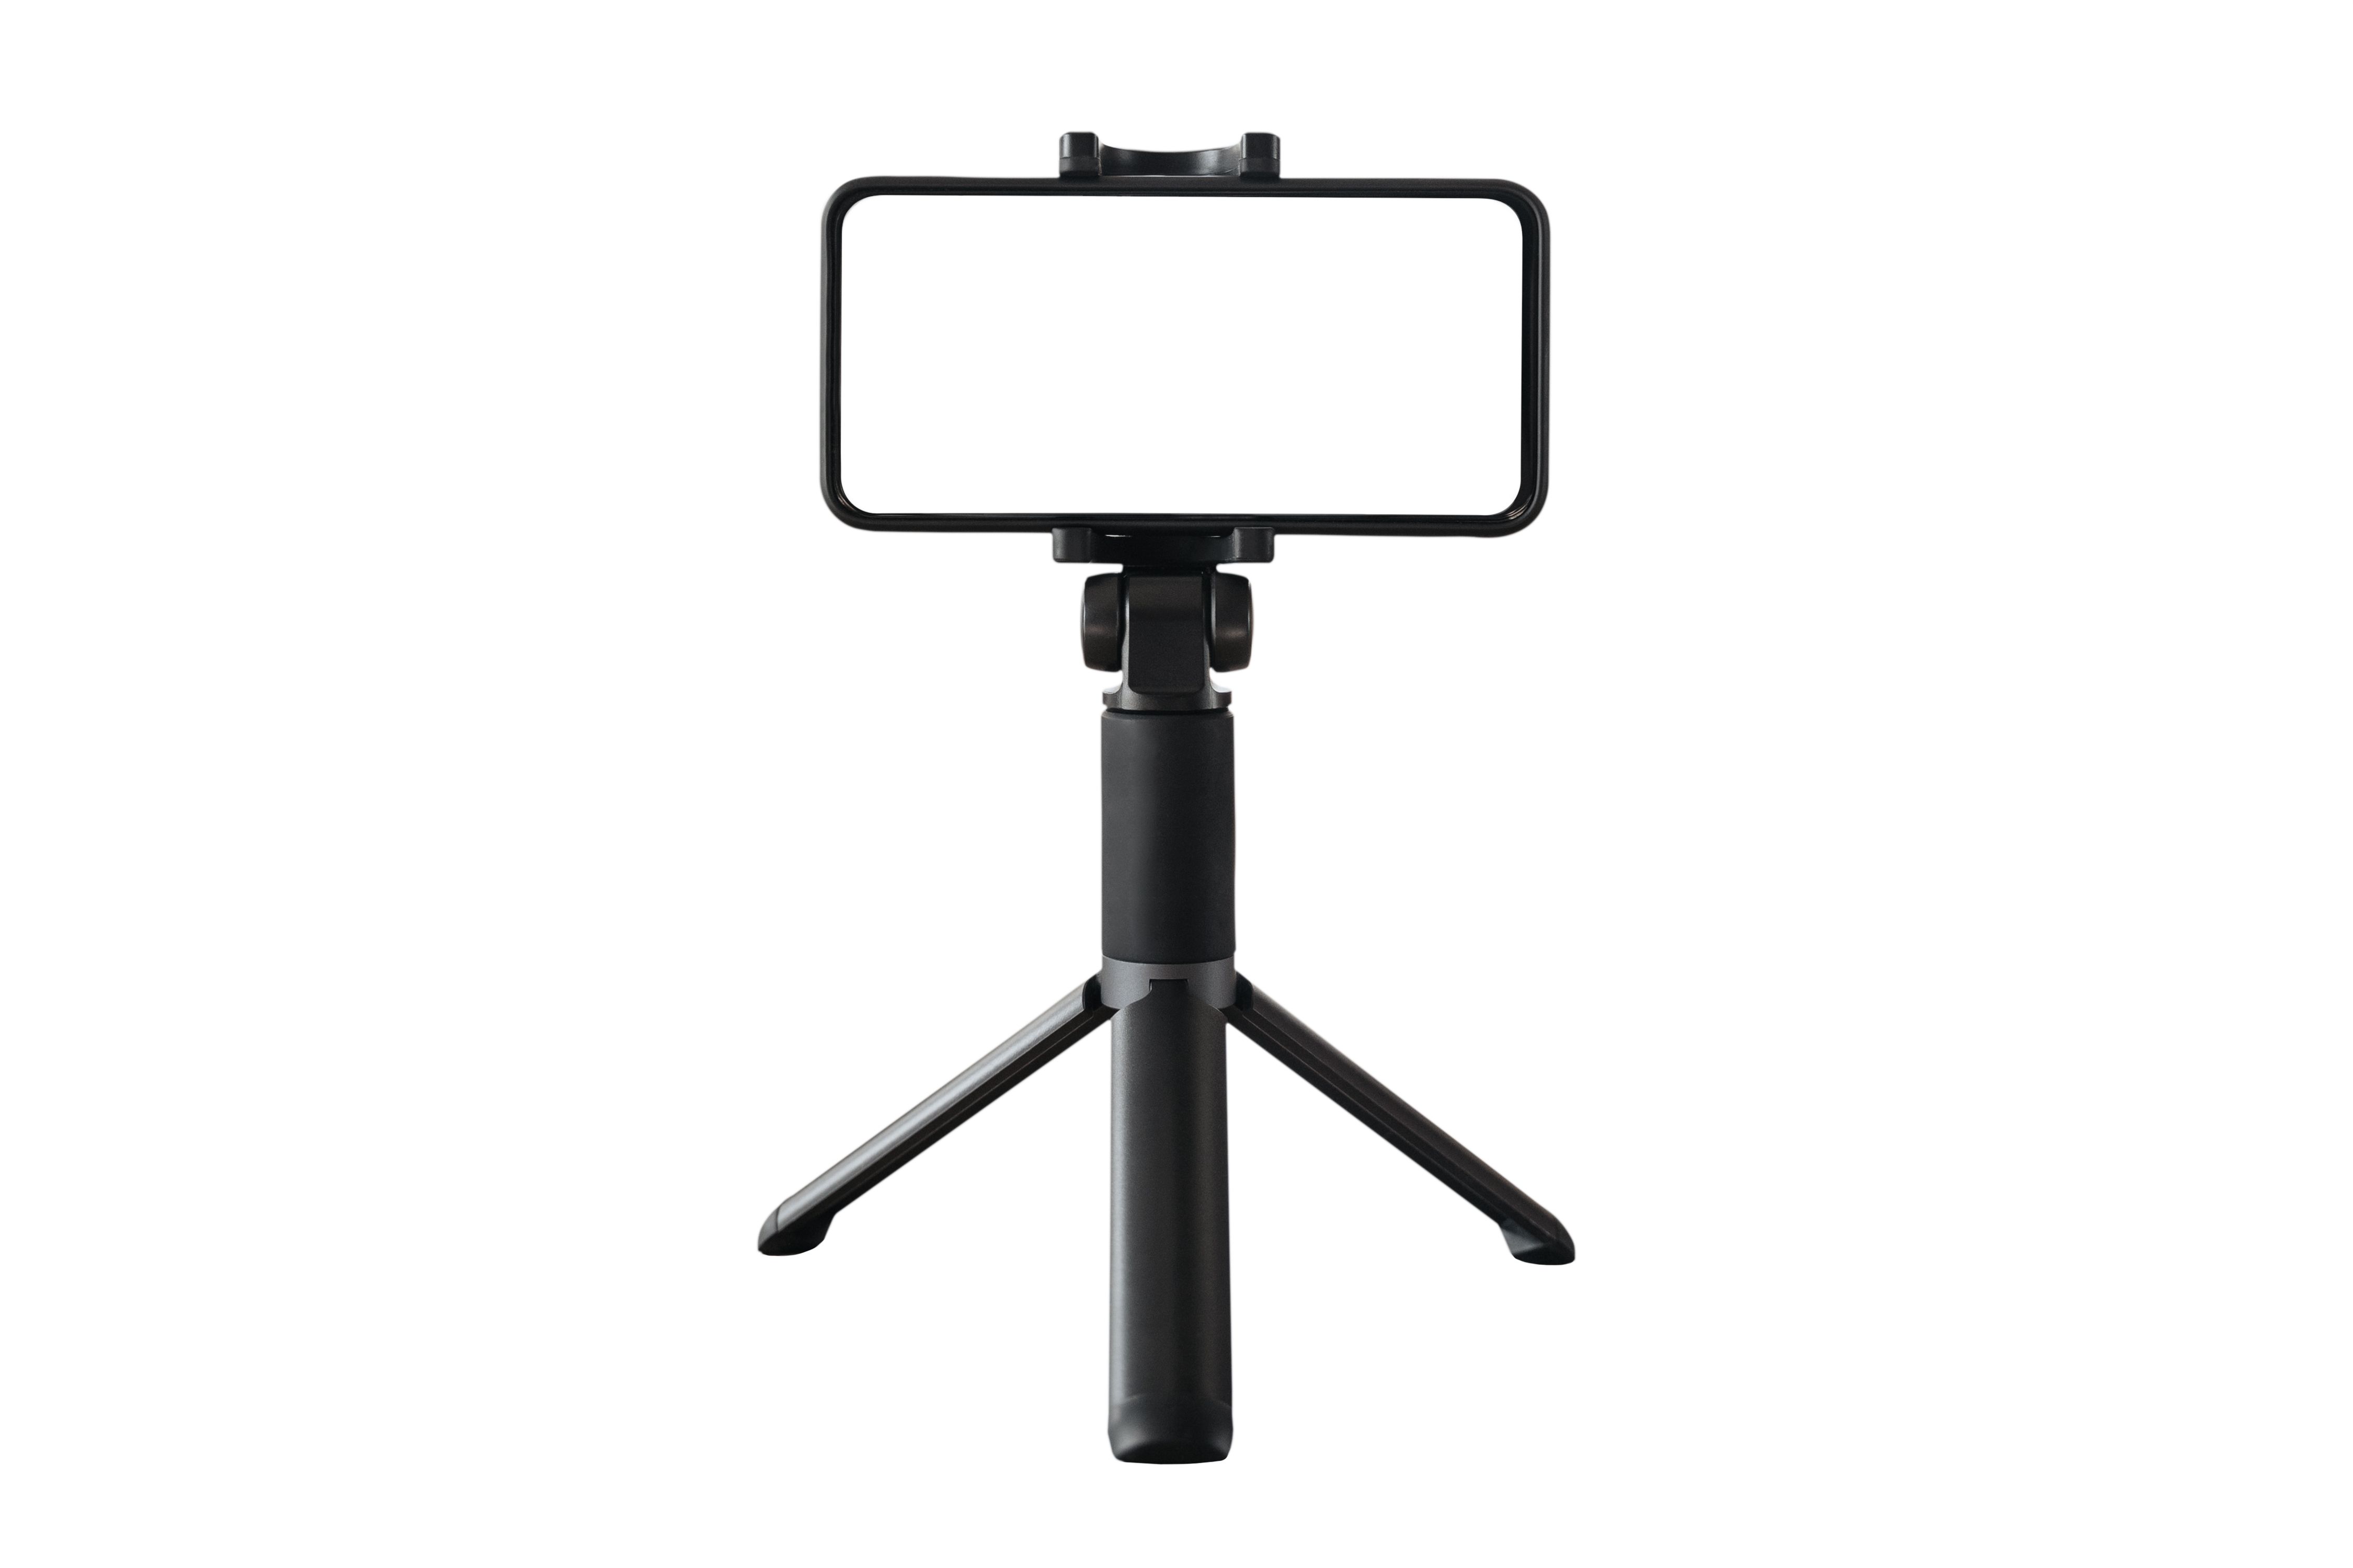
- Tripod: A sturdy tripod is crucial for stabilizing your camera during long exposures.
- Remote Shutter Release: This helps prevent camera shake when capturing long exposure shots.
- Fast Lens: A lens with a wide aperture (f/2.8 or lower) allows more light into the camera.
While these tools are important, remember that creativity and experimentation are key in night photography. Don't be afraid to try different angles and compositions to capture unique perspectives of Singapore's nocturnal beauty.
Mastering Exposure in Low Light
Exposure is one of the most challenging aspects of night photography. To achieve the perfect exposure, you need to balance three primary settings: ISO, aperture, and shutter speed. Start by setting your ISO to a low value like 100 or 200 to reduce noise. Then, adjust the aperture to a wider setting (e.g., f/2.8) to let in more light. Finally, use a slow shutter speed to capture enough light for a well-exposed image.
Keep in mind that longer shutter speeds require a steady hand or a tripod to avoid blurry images. Using a remote shutter release or your camera's timer function can also help eliminate shake.
Exploring Iconic Night Photography Spots
Singapore is a haven for night photography enthusiasts, offering numerous spots that are perfect for capturing stunning images. Some popular locations include:
- Marina Bay Sands: Capture the iconic skyline with its dazzling lights and reflections on the water.
- Gardens by the Bay: The Supertree Grove offers a futuristic backdrop that comes alive at night.
- Clarke Quay: A vibrant spot with colorful lights reflecting off the Singapore River.
Post-Processing Tips for Night Photography
Once you've captured your images, post-processing can enhance their quality and bring out details that might not be immediately visible. Software like Adobe Lightroom or Photoshop can help you adjust exposure, contrast, and color balance. Pay attention to reducing noise, which is common in night photography due to high ISO settings.
A good tip is to shoot in RAW format, as it provides more flexibility in post-processing compared to JPEG. This allows you to recover more details from shadows and highlights, giving your night photos a professional finish.
Remember, practice makes perfect. The more you experiment with night photography, the more you’ll understand how different settings affect your images. So grab your camera, head out into the night, and start capturing the enchanting beauty of Singapore after dark!